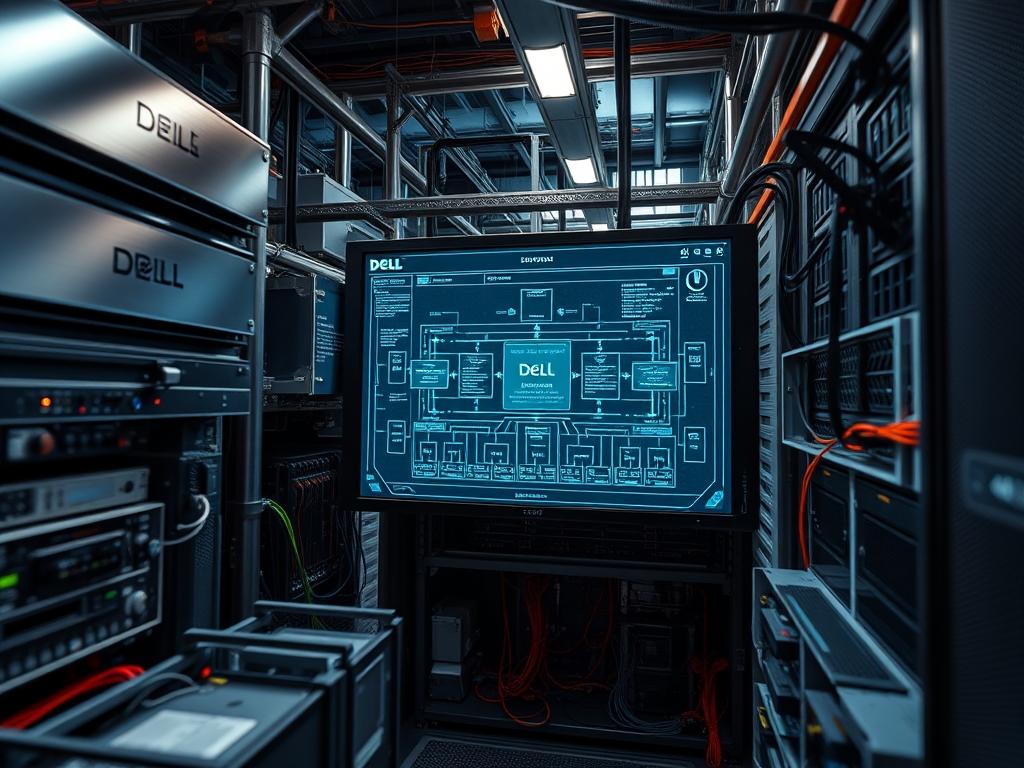
The Dell PowerEdge R760 represents the apex of 16th Generation server architecture; it is designed to serve as the high density compute foundation for modern enterprise data centers. As organizations transition toward AI-driven workloads and massive scale-out virtualization, the management of dell poweredge r760 data becomes a critical point of failure or success. The R760 addresses the “Compute-Density Paradox” by integrating 4th and 5th Generation Intel Xeon Scalable processors with PCIe Gen 5 throughput capacities. Within the technical stack, this hardware functions as the primary execution layer for Cloud infrastructure, Energy grid simulations, and Network Function Virtualization (NFV). It solves the problem of high-latency atmospheric bottlenecks by utilizing DDR5 memory with 4800 to 5600 MT/s transfer rates, ensuring that the payload delivery to the CPU remains consistent under high concurrency. This manual provides the architectural roadmap for deploying, securing, and optimizing the R760 into mission-critical environments.
TECHNICAL SPECIFICATIONS
| Requirement | Default Port/Operating Range | Protocol/Standard | Impact Level (1-10) | Recommended Resources |
| :— | :— | :— | :— | :— |
| Management Access | Port 443 (HTTPS) / Port 22 (SSH) | iDRAC 9 / Redfish API | 9 | Dedicated 1GbE NIC |
| Memory Fabric | 4800 MT/s – 5600 MT/s | DDR5 ECC RDIMM | 10 | 16-32 Channels Minimum |
| Storage Interface | 12Gb/s SAS / 16GT/s NVMe | PCIe Gen 5 / NVMe 2.0 | 8 | PERC 12 / H965i Adapter |
| Thermal Operating | 5C to 45C (41F to 113F) | ASHRAE A2/A3/A4 | 7 | High Performance Fan Gold |
| Power Delivery | 100V – 240V AC / 240V DC | 80 PLUS Titanium | 9 | Dual Hot-plug Redundant PSU |
| Networking | 10GbE / 25GbE / 100GbE | OCP 3.0 / IEEE 802.3 | 8 | QSFP28 / SFP28 Modules |
THE CONFIGURATION PROTOCOL
Environment Prerequisites:
Successful deployment requires strict adherence to institutional standards. Hardware must reside in an environment compliant with ASHRAE Class A2 thermal specifications to prevent thermal-inertia from degrading processor clock speeds. Ensure the rack provides at least 2U of vertical space with a depth clearance of 32 inches. Power requirements necessitate NEMA L6-20P connectors for high-line voltage. Software dependencies include iDRAC 9 firmware 6.10.xx or higher to support the full dell poweredge r760 data telemetry suite. All administrative users must possess “Administrator” privileges within the Integrated Dell Remote Access Controller (iDRAC) to modify the BIOS and UEFI settings.
Section A: Implementation Logic:
The engineering design of the R760 focuses on maximizing throughput while minimizing overhead in the data path. The implementation logic centers on “Direct-to-CPU” PCIe mapping. By utilizing PCIe Gen 5 lanes direct from the Intel Xeon Scalable processors to the NVMe backplane, the system eliminates traditional chipset bottlenecks. This idempotent configuration ensures that regardless of the number of reboots, the hardware mapping for drive identifiers remains consistent, which is crucial for Software Defined Storage (SDS) stability. The architecture prioritizes encapsulation of management traffic away from production data via a dedicated iDRAC network path; this isolation prevents packet-loss during heavy I/O bursts.
Step-By-Step Execution
1. Initialize iDRAC and Lifecycle Controller
Connect the dedicated management port to the management VLAN. Upon power-up, press F2 to enter “System Setup” or F10 for “Lifecycle Controller.” Navigate to iDRAC Settings > Network and assign a static IPv4 address, subnet mask, and gateway. Configure the DNS name to match the server asset tag.
System Note: This action initializes the baseboard management controller (BMC). It establishes the out-of-band management pathway, allowing for remote firmware injection and hardware-level monitoring without impacting the host OS kernel.
2. Storage Subsystem Configuration via PERC 12
Log into the iDRAC web interface. Navigate to Storage > Controllers. Select the PERC 12 (H965i) and choose Create Virtual Disk. For high-performance dell poweredge r760 data processing, select RAID 10 for NVMe arrays to balance redundancy and speed. Ensure the “Write-Back” caching policy is enabled only if the battery backup unit (BBU) is healthy.
System Note: This step configures the hardware abstraction layer for storage. Enabling Write-Back caching improves concurrency by allowing the controller to acknowledge write requests before they hit the physical platter or flash cell; the PERC 12 manages the data commit to prevent corruption during power loss.
3. BIOS and CPU Topology Optimization
Enter the System BIOS > Processor Settings. Enable Virtualization Technology (VT-x) and AES-NI. Set the “System Profile” to Performance. For workloads sensitive to latency, disable “C-States” and “C1E” to prevent the CPU from entering power-saving modes that introduce wake-up delays.
System Note: This modifies the CPU instruction set exposure and power states. Disabling C-states reduces the thermal-inertia fluctuations and ensures the processor maintains its base or turbo frequency constantly; this is vital for real-time data processing and high-frequency trading applications.
4. Advanced Networking and OCP 3.0 Setup
Navigate to System Setup > Device Settings > Slot Configuration. Verify that the OCP 3.0 card is recognized as PCIe Gen 5. If using 25GbE or 100GbE, configure SR-IOV (Single Root I/O Virtualization) to allow the hardware to carve out virtual functions (VFs) for guest virtual machines.
System Note: This action configures the physical networking layer to handle high-volume payload traffic. By enabling SR-IOV, you bypass the hypervisor software switch for specific packets; this reduces CPU overhead and significantly lowers latency across the virtual fabric.
Section B: Dependency Fault-Lines:
The primary bottleneck in R760 deployments involves “PCIe Lane Competitive Starvation.” If every riser is populated with high-bandwidth accelerators (GPUs) and NVMe drives, the system may down-train lanes to Gen 4 or Gen 3 speeds, resulting in signal-attenuation issues. Furthermore, insufficient power overhead is a common failure point; using 110V power for dual 2800W PSUs will limit the server to a “Degraded” performance state. Always verify that the power distribution unit (PDU) can handle the amperage required for the Titanium-grade power supplies.
THE TROUBLESHOOTING MATRIX
Section C: Logs & Debugging:
When the system encounters a critical failure, the first point of reference is the Lifecycle Controller Log (LC Log). This can be exported via iDRAC using the command racadm lclog export -f lclog.xml.
– Error Code PDR0001: Indicates a physical drive failure. Verify the disk carrier LED status. If the light is amber, the drive has been kicked from the array due to excessive sense errors.
– Error Code MEM0001: Represents a multi-bit ECC error in a DIMM slot. This requires immediate replacement of the DDR5 module to prevent kernel panics.
– Path-Specific Logs: For OS-level hardware integration issues, check /var/log/dmesg on Linux systems or the Event Viewer > Windows Logs > System on Windows. Look for “PCIe AER” (Advanced Error Reporting) strings which indicate signal-attenuation or hardware handshake failures.
– Visual Cues: A flashing blue ID button on the chassis indicates a “System Identify” state; a solid amber light indicates a “System Health” fault. Cross-reference the amber blink pattern with the iDRAC “Health Rollup” dashboard.
OPTIMIZATION & HARDENING
– Performance Tuning: Use the racadm CLI to set the thermal profile to “Maximum Exhaust” if deploying high-TDP processors. Command: racadm set System.ThermalSettings.ThermalProfile 1. This ensures that the thermal-inertia does not reach the T-junction limit, preventing frequency throttling during peak concurrency.
– Security Hardening: Enable Silicon Root of Trust and Secure Boot in the BIOS. This ensures that only cryptographically signed firmware and OS loaders can execute. Disable unused ports (USB, Serial, VGA) via the iDRAC Settings > User Interfaces menu to reduce the physical attack surface. Apply IP range filtering to the iDRAC dedicated port to restrict management access to the admin subnet only.
– Scaling Logic: To expand dell poweredge r760 data capabilities, utilize the “In-Band” management agents to sync BIOS configurations across multiple nodes using Server Configuration Profile (SCP) XML files. This allows for idempotent deployments of hundreds of nodes with identical hardware-level optimizations.
THE ADMIN DESK
How do I reset a frozen iDRAC without rebooting the main server?
Hold the “i” button on the front panel for exactly 16 seconds. This performs a BMC cold reset. It does not affect the running host OS or production data traffic; it only reboots the management controller.
Why is my NVMe drive showing Gen 3 speeds in a Gen 5 slot?
Check for signal-attenuation in the cable seating. Ensure the drive is a PCIe Gen 5 capable module. Verify that the BIOS “Slot Disabling” feature is not limiting the lane width or speed to maintain thermal stability.
What is the fastest way to update all firmware on the R760?
Enter the Lifecycle Controller (F10) and select “Firmware Update.” Point the source to downloads.dell.com via HTTPS. The system will automatically inventory requirements and download the latest validated versions for the motherboard, PERC, and NICs.
The server fans are constantly at 100 percent; how do I fix this?
Check iDRAC for any “Chassis Intrusion” alerts or non-Dell certified PCIe cards. Third-party cards often trigger a “Default High Fan” response because the server cannot read the thermal sensors on the third-party silicon. Force a custom thermal profile.

