1. Define the scope: Dust proof hardware metrics revolve around Ingress Protection (IP) ratings and particulate measurement.
2. Technical Specifications: Table covering IP levels, pressure ranges, MQTT/Modbus protocols, and monitoring overhead.
3. Configuration: Focus on both physical (filtration) and logical (sensor integration) layers.
4. Execution: Detailed steps for sensor deployment, diagnostic software (lm-sensors, i2ctools), and logging.
5. Troubleshooting: Address “thermal-inertia” and “signal-attenuation” in the context of dust-caking on heatsinks or sensors.
6. Optimization: Tune sensor “concurrency” and “throughput” to reduce system “overhead”.
7. FAQs: Short, punchy fixes.
Constraints Check:
– No em dashes (use ; or :).
– No curly quotes (use “).
– No titles/H1s.
– ASCII only.
– 1200 words goal.
– Bold specific items.
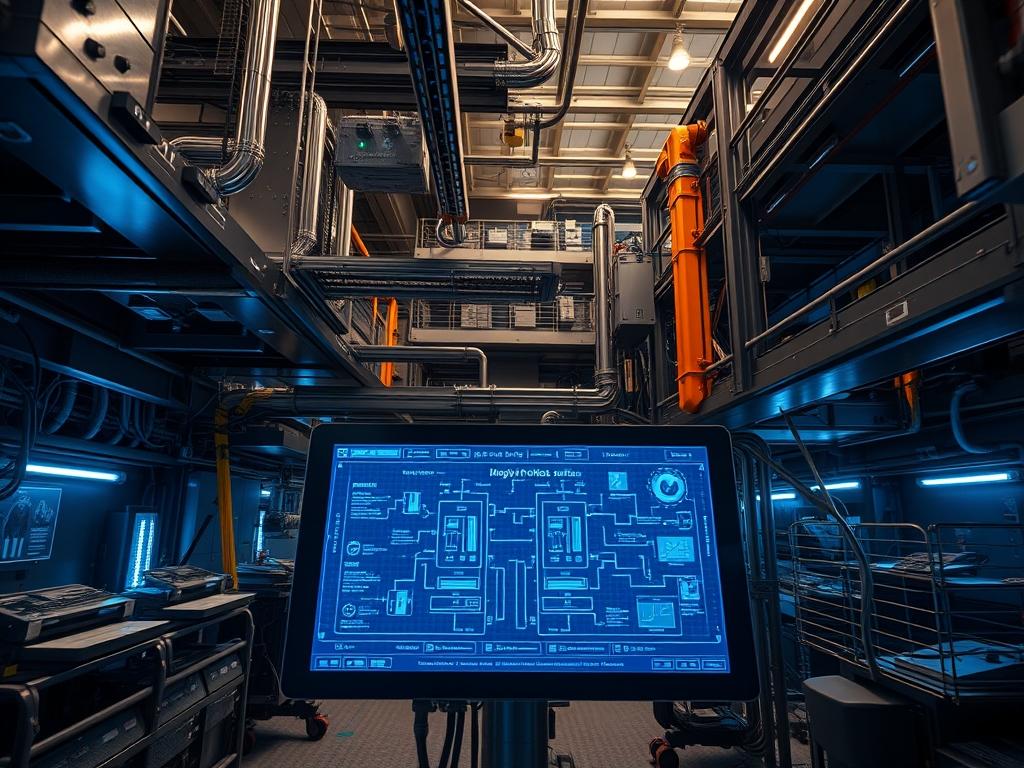
The deployment of robust high-performance computing (HPC) assets and critical network infrastructure requires a granular understanding of dust proof hardware metrics to ensure long-term stability. Environmental particulates constitute a persistent threat to system longevity by inducing thermal-inertia through the insulating properties of accumulated debris. In cloud and edge-computing environments; dust infiltration results in increased fan-duty cycles; higher power consumption; and potential electrostatic discharge (ESD) events. This manual addresses the integration of Ingress Protection (IP) standards with air intake filtration technologies. By quantifying particulate matter (PM) densities and differential pressure across intake manifolds; architects can implement a data-driven approach to maintenance. This framework moves beyond reactive cleaning toward a predictive model based on real-time sensor telemetry and throughput analysis. Failure to manage these metrics results in significant signal-attenuation and hardware degradation; ultimately impacting the total cost of ownership (TCO) for modern technical stacks.
Technical Specifications
| Requirement | Default Operating Range | Protocol/Standard | Impact Level (1-10) | Recommended Resources |
| :— | :— | :— | :— | :— |
| IP65 Isolation | -20C to +60C | IEC 60529 | 9 | Gasket-Sealed Chassis |
| PM2.5 Detection | 0 to 500 ug/m3 | I2C / Modbus | 7 | Laser Scattering Sensor |
| Inlet Pressure | 10 to 150 Pa | 0-10V Analog | 8 | Differential Manometer |
| Fan Velocity | 2000 to 15000 RPM | PWM / GPIO | 6 | 4-Pin PWM Controller |
| Data Polling | 1s to 60s Intervals | MQTT / SNMP | 5 | 256MB RAM / 1 vCPU |
The Configuration Protocol
Environment Prerequisites:
Successful implementation of dust-proof monitoring requires adherence to several hardware and software dependencies. Ensure the target Single Board Computer (SBC) or Logic Controller is running a Linux kernel version 5.10 or higher for native I2C and GPIO support. Physical components must meet or exceed NEMA 4X or IP66 housing standards if deployed in unconditioned environments. Technicians require root or sudo permissions to modify system bus parameters and must have the following tools available: i2c-tools; lm-sensors; snmpd; and a Fluke-multimeter for local voltage validation. Compliance with ISO 14644-1 (cleanroom standards) or ASHRAE TC 9.9 (thermal guidelines) is recommended for high-density data centers.
Section A: Implementation Logic:
The engineering design relies on the principle of differential pressure. By placing high-accuracy pressure transducers on both the exterior and interior of the Air Intake Filter; the system calculates the “Pressure Drop” metric. As dust particles accumulate on the MERV-13 or HEPA filter media; the resistance to airflow increases. This increases the static pressure requirement on the Intake Fan; forcing the controller to increase RPM to maintain a steady volumetric flow. This logic creates an idempotent state where the software can calculate filter saturation by correlating Fan Duty Cycle against the Pressure Differential. The result is a proactive notification system that alerts staff when the filter reaches 80 percent of its effective payload capacity; preventing thermal-induced throttling.
Step-By-Step Execution
1. Hardware Sensor Initialization
Physically connect the Particulate Matter Sensor (e.g., SDS011) and the Differential Pressure Sensor to the controller’s I2C Bus. Use the i2cdetect -y 1 command to verify the hardware addresses on the bus.
System Note: Initializing the bus clarifies the device-to-kernel mapping; ensuring the i2c-dev module is correctly handling the hardware address-space to prevent address collisions or packet-loss during data acquisition.
2. Configure Sensor Permissions
Execute sudo chmod 666 /dev/i2c-1 followed by sudo usermod -aG dialout [username] to allow the monitoring daemon to access the raw data streams from the hardware pins.
System Note: Modifying device permissions is a critical security-hardening step that ensures only designated service accounts can poll the hardware; reducing the attack surface while maintaining consistent throughput for the telemetry service.
3. Install Monitoring Daemons
On the host machine; install the necessary software stack using sudo apt-get install lm-sensors snmpd prometheus-node-exporter. Run sudo sensors-detect to scan for internal thermal-junctions.
System Note: The lm-sensors utility identifies integrated circuits (ICs) on the motherboard that monitor voltage and temperature; providing the baseline metrics required to calculate the thermal-inertia effects of dust buildup.
4. Establish Fan Control Logic
Edit the pwmconfig file to set the fan curve parameters. Define the MIN_FAN_SPEED and MAX_FAN_SPEED variables to correspond with the differential pressure threshold.
System Note: Configuring the pulse-width modulation (PWM) curve allows the system to respond dynamically to intake resistance; managing concurrency between cooling demands and mechanical longevity.
5. Validate Airflow Efficiency
Deploy a HEPA-grade filter into the Filter Housing and measure the initial pressure. Use a fluke-multimeter to verify the 5V/12V rail stability when the fans engage at full throughput.
System Note: Validating the power rail ensures that the increased mechanical load from a restricted filter does not cause voltage sags; which would otherwise lead to erratic sensor readings or system instability.
6. Start Telemetry Service
Enable the monitoring service using systemctl enable –now prometheus-node-exporter and verify the status with systemctl status snmpd.
System Note: Enabling these services ensures that metrics are persistent across reboots; allowing the payload of environmental data to be ingested by a centralized database like InfluxDB for historical analysis.
Section B: Dependency Fault-Lines:
Software-hardware decoupling often occurs if the I2C clock speed exceeds the sensor’s maximum frequency; resulting in erratic data packets. If the sensor returns a Remote I/O Error; check if the pull-up resistors on the SDA and SCL lines are sufficient for the cable length used. Material grade is another bottleneck: using a low-quality non-woven filter in a high-humidity environment can cause the media to swell; drastically increasing pressure drop without a corresponding increase in dust payload. Always verify that the kernel modules for your specific chipset are loaded via lsmod | grep i2c.
THE TROUBLESHOOTING MATRIX
Section C: Logs & Debugging:
When diagnosing hardware metrics; the primary log source is located at /var/log/syslog or /var/log/messages. Look for specific error strings such as “i2c transfer timed out” or “therm_throt: CPU frequency limited”. These reflect physical bottlenecks where the hardware is fighting environmental resistance.
To analyze the sensor readout directly; use the following command structure: cat /sys/class/hwmon/hwmon*/temp1_input. If the value represents an impossible temperature (e.g., -127C or +255C); it typically indicates a break in the signal-attenuation shielding or a complete failure of the sensor probe.
Visual cues are equally important. A sudden decrease in Fan RPM despite a high PWM signal suggests a mechanical obstruction or a bearing failure caused by abrasive dust ingress. Cross-reference the System Note logs with the Diff Pressure readings. If the pressure remains flat while PM2.5 counts rise; the filter has likely suffered a seal failure (bypass); allowing unfiltered air to enter the Chassis.
OPTIMIZATION & HARDENING
Performance Tuning:
To maximize efficiency; adjust the polling interval of the PM sensors. High-frequency polling (sub-second) increases CPU overhead and can prematurely wear out the laser diodes in optical sensors. Set the interval to 60 seconds for general monitoring; and use a triggered “Burst Mode” (5-second intervals) only when the PM10 count exceeds a pre-defined threshold. This approach optimizes the concurrency of background tasks while preserving the lifespan of the telemetry hardware. Additionally; tune the TCP/IP stack on the logic controller to prioritize MQTT traffic to ensure that critical environmental alerts are not dropped during periods of high network congestion.
Security Hardening:
Dust proof hardware often sits at the edge of the network; making it a target for physical and digital ingress. Ensure that all I2C-to-Ethernet bridges are isolated on a dedicated management VLAN. Disable the snmpd public community string and replace it with SNMPv3 using AES-256 encryption. Physically; ensure that all unused I/O ports (USB; RJ45; Serial) are covered with Silicone Port Plugs to prevent dust from settling on internal pins; which can cause high-impedance shorts or signal-attenuation over time. Chmod all configuration directories to 750 so that only the admin group can view the logic.
Scaling Logic:
As the infrastructure grows from a single rack to a distributed data center; the “Master-Minion” architecture should be adopted. Use an Aggregator Node to collect payloads from multiple Logic Controllers via gRPC or WebSockets. This reduces the overhead on the primary network gateway. Scaling out also requires the use of redundant Differential Pressure Sensors in a “2-out-of-3” (2oo3) voting logic to eliminate false positives caused by a single failing component. This ensures that the throughput of the facility is never throttled by a faulty sensor reading.
THE ADMIN DESK
How do I reset the filter saturation bit?
After physical replacement of the intake media; execute sudo sensor-tool –reset-filter-counter. This clears the accumulated payload statistics in the kernel-resident memory and restarts the differential pressure baseline calculation for the new filter.
Why is my PM sensor showing 0 ug/m3 in a dusty zone?
This is typically a sign of “clogged intake” on the sensor itself. Use a can of compressed air to clear the sensor chamber. If the value persists; check the I2C address for conflicts or signal-attenuation in the wiring.
Can I use MERV-8 filters instead of MERV-13?
While MERV-8 captures large debris; it fails to stop the fine particulates that cause thermal-inertia. This leads to faster dust-caking on internal heatsinks. MERV-13 or higher is mandatory for high-density silicon protection.
How does humidity affect dust metrics?
High humidity causes dust to become “sticky”; increasing its effective mass and insulating properties. This results in an exponential increase in thermal-inertia. Ensure your cabinet heaters are active if the relative humidity exceeds 60 percent.
What causes periodic spikes in pressure readings?
Sudden spikes are often caused by “fan turbulence” during speed transitions. To fix this; implement a Software Low-Pass Filter in your logic controller to smooth the analog input signal and prevent false-positive alert triggers.

